Damp Sponge or Dry Sponge for Foundation?
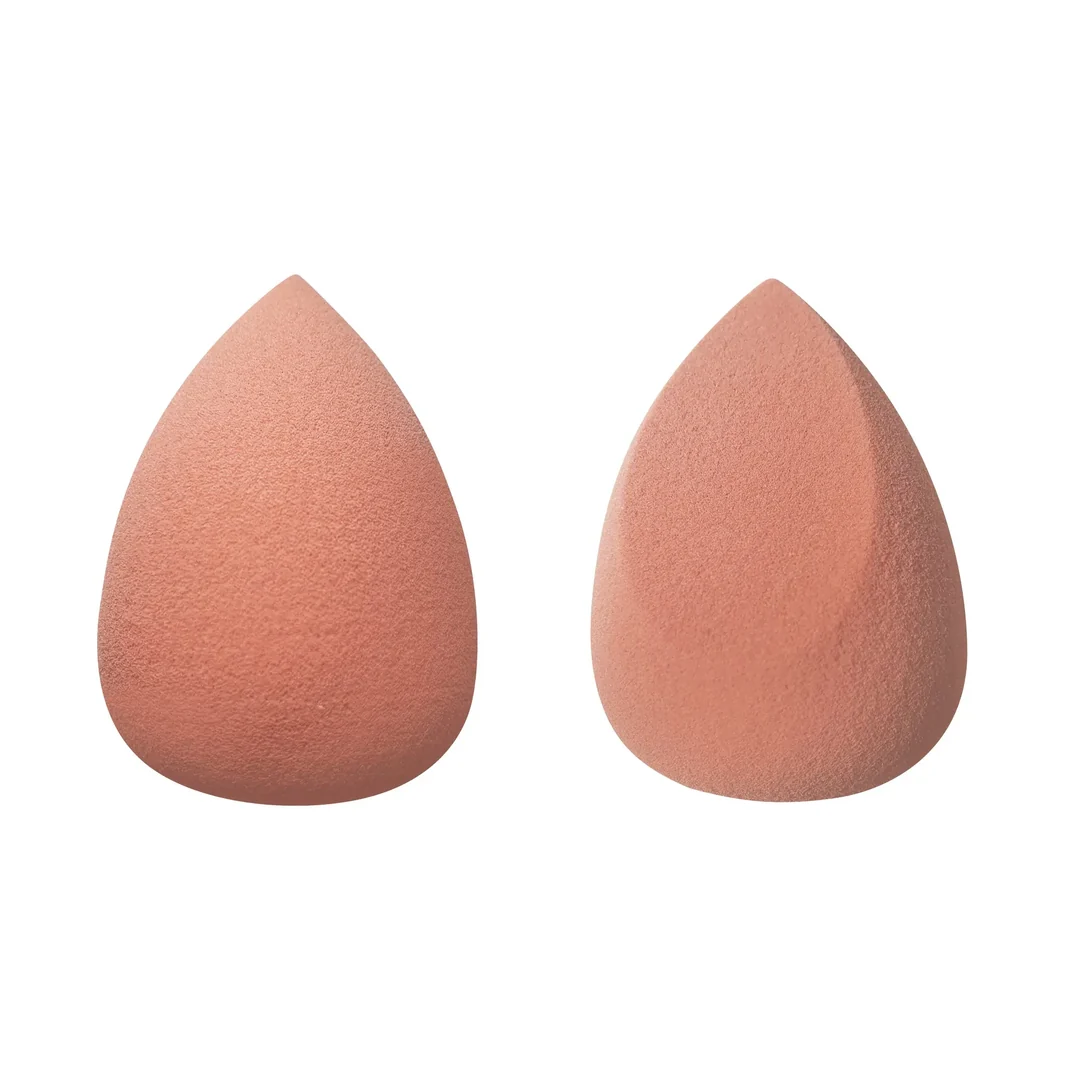
51 views
If your foundation looks cakey, patchy, or strangely uneven even though the formula itself works beautifully, the problem may be sitting in your makeup bag.
Your sponge.
More specifically, whether you're using it damp or dry.
A damp makeup sponge and a dry sponge can produce noticeably different results from the same foundation. One can sheer out coverage and leave skin looking fresh. The other can press more pigment onto the face and create a denser, fuller-looking base.
Neither method is automatically "correct." The better choice depends on the foundation formula, the finish you want, how much coverage you need, and even how much pressure you use while blending.
For most liquid foundations, though, a properly damp sponge is the better starting point. Real Techniques, for example, specifically recommends using its Miracle Complexion Sponge damp for a natural, dewy finish, while also noting that the same sponge can be used dry for fuller coverage.
Here's how to make that choice work in real life.
Damp or dry: what's actually changing?
A damp sponge isn't simply a dry sponge with water added to it.
Water changes the way the foam feels, expands, and interacts with liquid makeup. A properly saturated sponge is softer and more bouncy, while a dry one feels firmer and tends to pick up and deposit foundation more aggressively.
That difference matters.
With a damp sponge, some of the foundation remains on the surface of the foam rather than disappearing as quickly into it. The bouncing motion then distributes thinner layers across the complexion. Beautyblender's current Bio Pure sponge, for instance, is specifically designed to be used wet, and the brand says the sponge expands with water and is intended to minimize product waste.
A dry sponge behaves more like a high-deposit application tool. It can build coverage quickly, but it can also make it easier to apply too much foundation in one area.
That's the catch.
If you've ever finished blending and suddenly discovered a heavy stripe around your nose or a thick patch on your chin, you know exactly what I mean.
When a damp sponge is the better choice
For everyday liquid foundation, I'd reach for a damp sponge first.
It is particularly useful when you want:
A natural or skin-like finish
Light-to-medium coverage
A softer transition around the jawline
Less obvious texture
Sheerer layers that can be built gradually
A fresh, slightly dewy appearance
Real Techniques describes its Miracle Complexion Sponge as providing light-to-medium coverage with liquid and cream products and recommends damp use for a natural, dewy finish. Its three-point design uses the flat edge for application, the rounded sides for blending, and the precision tip for smaller areas.
That approach is surprisingly practical.
Put a small amount of foundation on the back of your hand. Pick it up with the sponge. Then bounce, rather than drag, the product across one section of your face.
Cheeks first. Forehead next. Nose and chin last.
You don't need to keep adding foundation because the first pass looks slightly transparent. Give it a few seconds to settle. If you still want more coverage, add another thin layer only where needed.
That usually looks better than applying a thick coat everywhere and trying to blend the excess away.
When dry makes more sense
A dry sponge has its place.
If you're trying to maximize coverage, particularly with a foundation that already has a relatively thick or creamy consistency, using the sponge dry can help you deposit more product.
Real Techniques explicitly says its Miracle Complexion Sponge can also be used dry for fuller coverage. The brand's separate Miracle Airblend Sponge is designed to be used dry for a more mattified, medium-to-full-coverage result.
Dry application can be useful for:
Full-coverage makeup. If you're covering significant redness or want a more perfected complexion, the higher product deposition can be helpful.
Touch-ups. A dry sponge can press additional foundation onto a small area without introducing extra moisture.
Certain thicker formulas. Some creamier foundations can become difficult to control with an overly wet sponge.
Matte looks. If your goal is a more controlled, less luminous finish, avoiding unnecessary moisture can help.
There's one warning, though.
Don't interpret "dry" as "rub it across the face."
Use pressing and bouncing motions. A dry sponge can create more friction, and aggressive dragging is an easy way to disturb skincare, primer, or the foundation layer underneath.
The biggest mistake: using a soaked sponge
This is where many people go wrong.
A makeup sponge should be damp, not dripping.
There's a difference.
Beautyblender's instructions are straightforward: wet the sponge, squeeze out excess water, then use it to bounce makeup onto the skin. Real Techniques similarly instructs users to wet its sponge before application and squeeze out excess water.
Here's the routine I'd use:
Hold the sponge under water until the entire tool is saturated and expanded.
Squeeze it firmly several times.
Remove additional moisture with a clean towel if the sponge still feels overly wet.
Check the surface. It should feel cool and pliable, but it shouldn't release water when you bounce it against your hand.
Apply foundation in thin sections.
If the sponge leaves visible droplets on your face, you've probably gone too far.
That extra water can dilute the foundation sitting on the surface and make coverage less predictable.
Damp sponge vs. dry sponge for different foundation types
The foundation itself should influence your decision.
Foundation type | Better starting point | Why |
|---|---|---|
Lightweight liquid | Damp | Keeps application sheer and natural |
Buildable medium coverage | Damp | Easy to layer without looking heavy |
Full-coverage liquid | Damp or dry | Damp for control; dry for maximum deposit |
Thick cream foundation | Dry or barely damp | More control and less dilution |
Skin tint | Damp | Helps create a thin, even veil |
Matte foundation | Damp with minimal moisture | Controls coverage without adding excessive product |
Dewy foundation | Damp | Reinforces the fresh, luminous effect |
Powder foundation | Usually dry | Moisture changes the way powder behaves |
That last category deserves attention.
A liquid-foundation sponge and a powder sponge aren't interchangeable simply because they look similar. Real Techniques specifically distinguishes its Miracle Complexion Sponge for liquid and cream products from its Miracle Powder Sponge, which is designed for powders and is used dry.
So don't automatically wet every sponge in your collection.
How to get more coverage without switching to dry
This is the trick I'd try before abandoning the damp sponge.
Don't make the sponge drier. Make the application thinner and more targeted.
Apply your first layer with a damp sponge across the whole face. Let it settle. Then add a tiny amount of foundation to the areas that genuinely need additional coverage.
Around the nose. Center of the chin. Perhaps the middle of the cheeks.
Use the pointed or precision end for small areas rather than spreading another full layer across your entire face.
Real Techniques' three-point method follows a similar tool logic: flat edge for coverage, rounded side for blending, precision tip for concealing and detail work.
This gives you something a dry sponge often tempts you to skip: control.
And control is usually what makes foundation look expensive rather than heavy.
What if your foundation keeps disappearing into the sponge?
Some foam tools absorb more makeup than others, and the experience varies by sponge construction.
If you're wasting foundation, don't immediately compensate by pumping out twice as much product.
Try using the sponge slightly less wet, and press foundation onto the skin in small amounts rather than loading the entire tool.
The application technique matters, too. Beautyblender says its Bio Pure sponge is engineered for wet use and designed so the formula lands more on the complexion than in the sponge.
Still, every sponge has its own personality.
Some feel springy. Some are noticeably denser. Some have tiny pores; others have a more open texture. You may need a few attempts to figure out how much foundation your particular tool picks up.
That's not user error. It's simply part of working with different foam designs.
Your sponge-cleaning routine matters more than you think
A beautiful application technique won't compensate for a filthy sponge.
Foundation, skin oils, dead skin cells, and moisture can accumulate inside the foam. And because the tool repeatedly touches your face, cleaning it shouldn't be treated as an occasional spring-cleaning project.
Real Techniques recommends rinsing its sponge after each use, deep-cleaning it once a week, allowing it to air-dry thoroughly, and replacing it every 30 days for its Miracle Complexion Sponge.
The FDA also advises consumers to keep cosmetic containers and applicators clean and warns that applicators can become exposed to microorganisms during repeated use.
Don't seal a soaking-wet sponge inside a closed makeup bag, either.
Let it dry completely in a well-ventilated place first.
That tiny habit makes a difference.
Damp vs. dry: the quick decision
If you're standing in front of the mirror wondering which method to use, keep it simple.
Choose damp when you want:
A natural finish, lighter layers, easier blending, or a fresh-looking complexion.
Choose dry when you want:
More immediate coverage, stronger pigment deposition, or a more controlled matte application.
Choose barely damp when you're undecided:
It's the useful middle ground. You get some of the bounce and softness of a wet sponge without introducing excessive moisture.
And if your foundation is already very sheer, don't assume dry is automatically better. You may simply need another thin layer.
Frequently Asked Questions
Is a damp sponge better for foundation?
For most liquid and cream foundations, a damp sponge is an excellent starting point because it allows thin, controlled layers and can produce a natural finish. Real Techniques specifically recommends its Miracle Complexion Sponge damp for a natural, dewy result.
Does a dry sponge give more coverage?
Usually, it can. A dry sponge tends to deposit foundation more directly than a damp one, so it can be useful when you're aiming for fuller coverage. Real Techniques also states that its Miracle Complexion Sponge can be used dry for fuller coverage.
Should a beauty sponge be wet or just damp?
It should be thoroughly wet first, then squeezed until the excess water is removed. The finished sponge should be moist and expanded, not dripping. Beautyblender and Real Techniques both instruct users to wet their sponges and remove excess water before application.
Can I use the same sponge wet and dry?
Yes, if the sponge is designed for both methods. Some products are specifically intended for damp or dry use, while others are optimized for one technique. Check the manufacturer's instructions rather than assuming every sponge behaves the same way.
How often should I replace a foundation sponge?
Replacement guidance varies by product. Real Techniques currently recommends replacing its Miracle Complexion Sponge every 30 days, alongside regular rinsing and weekly deep cleaning.
So, damp or dry?
For most people applying liquid foundation at home, start with a properly damp sponge.
It gives you more room to build the complexion gradually, and that's useful when you're trying to avoid the dreaded mask-like finish. A dry sponge isn't wrong; it is simply a more coverage-focused tool in many routines.
Next time your foundation looks too heavy, don't immediately blame the formula.
Wet the sponge. Squeeze it properly. Use less product. Bounce, don't scrub. Then build coverage only where the mirror tells you it's actually needed.
That small change can completely alter the finish.
damp vs dry makeup sponge
foundation sponge technique
damp beauty blender application
dry makeup sponge results
sponge foundation coverage
makeup sponge tips
Found this helpful? Share it!