Pro Techniques That Instantly Elevate Your Makeup Game
291 views
Introduction
Most people don’t need more makeup products—they need better technique.
Recent beauty trends show a clear shift: results now depend more on application methods than on heavy layers or expensive formulas. In fact, the demand for lightweight, skin-like finishes has grown significantly, with liquid and cream products increasing their market share and popularity due to how well they blend into the skin.
At the same time, professional artists are moving away from obvious contour lines and thick coverage toward precise placement, controlled blending, and texture layering.
This guide focuses on those techniques—the ones that make a visible difference even with a basic kit.
The 2026 Shift: Why Technique Matters More Than Products
Makeup trends in 2026 highlight three major changes:
Softer blush placement and “skin-first” finishes are replacing heavy contour
Shimmer and light-reflecting textures are returning, but in controlled, subtle ways
Consumers prefer lightweight, buildable formulas over full coverage layers
What this means in practice: technique now determines whether makeup looks modern or outdated.
Skin Prep Layering (The 5-Minute Rule Pros Use)
Why it matters
Makeup sits differently depending on how the skin is prepared. Many blending issues are actually skin prep problems.
The method
Instead of applying everything at once:
Apply moisturizer (pea-sized amount)
Wait 60–90 seconds
Apply sunscreen or primer
Wait another 60 seconds
Start base makeup
Real-world example
A beginner often complains that foundation looks patchy. In most cases, they apply foundation immediately after moisturizer, causing product separation.
Spacing layers fixes this without changing products.
Precision Placement: Stop Over-Applying
The mistake
Most people apply too much product and then try to blend it out.
The pro approach
Apply less—but exactly where needed.
Example: Concealer placement
Inner corner of eyes (small dot)
Outer corner lift point
Around nose shadows
Do not cover the entire under-eye area.
Why it works
Targeted placement reduces creasing and improves natural texture visibility.
Controlled Blending (Not Over-Blending)
Blending is often misunderstood.
The problem
Over-blending removes coverage and structure.
The fix
Use directional blending:
Blend upward for lifting effect
Tap, don’t swipe, for base products
Stop once edges are diffused—not invisible
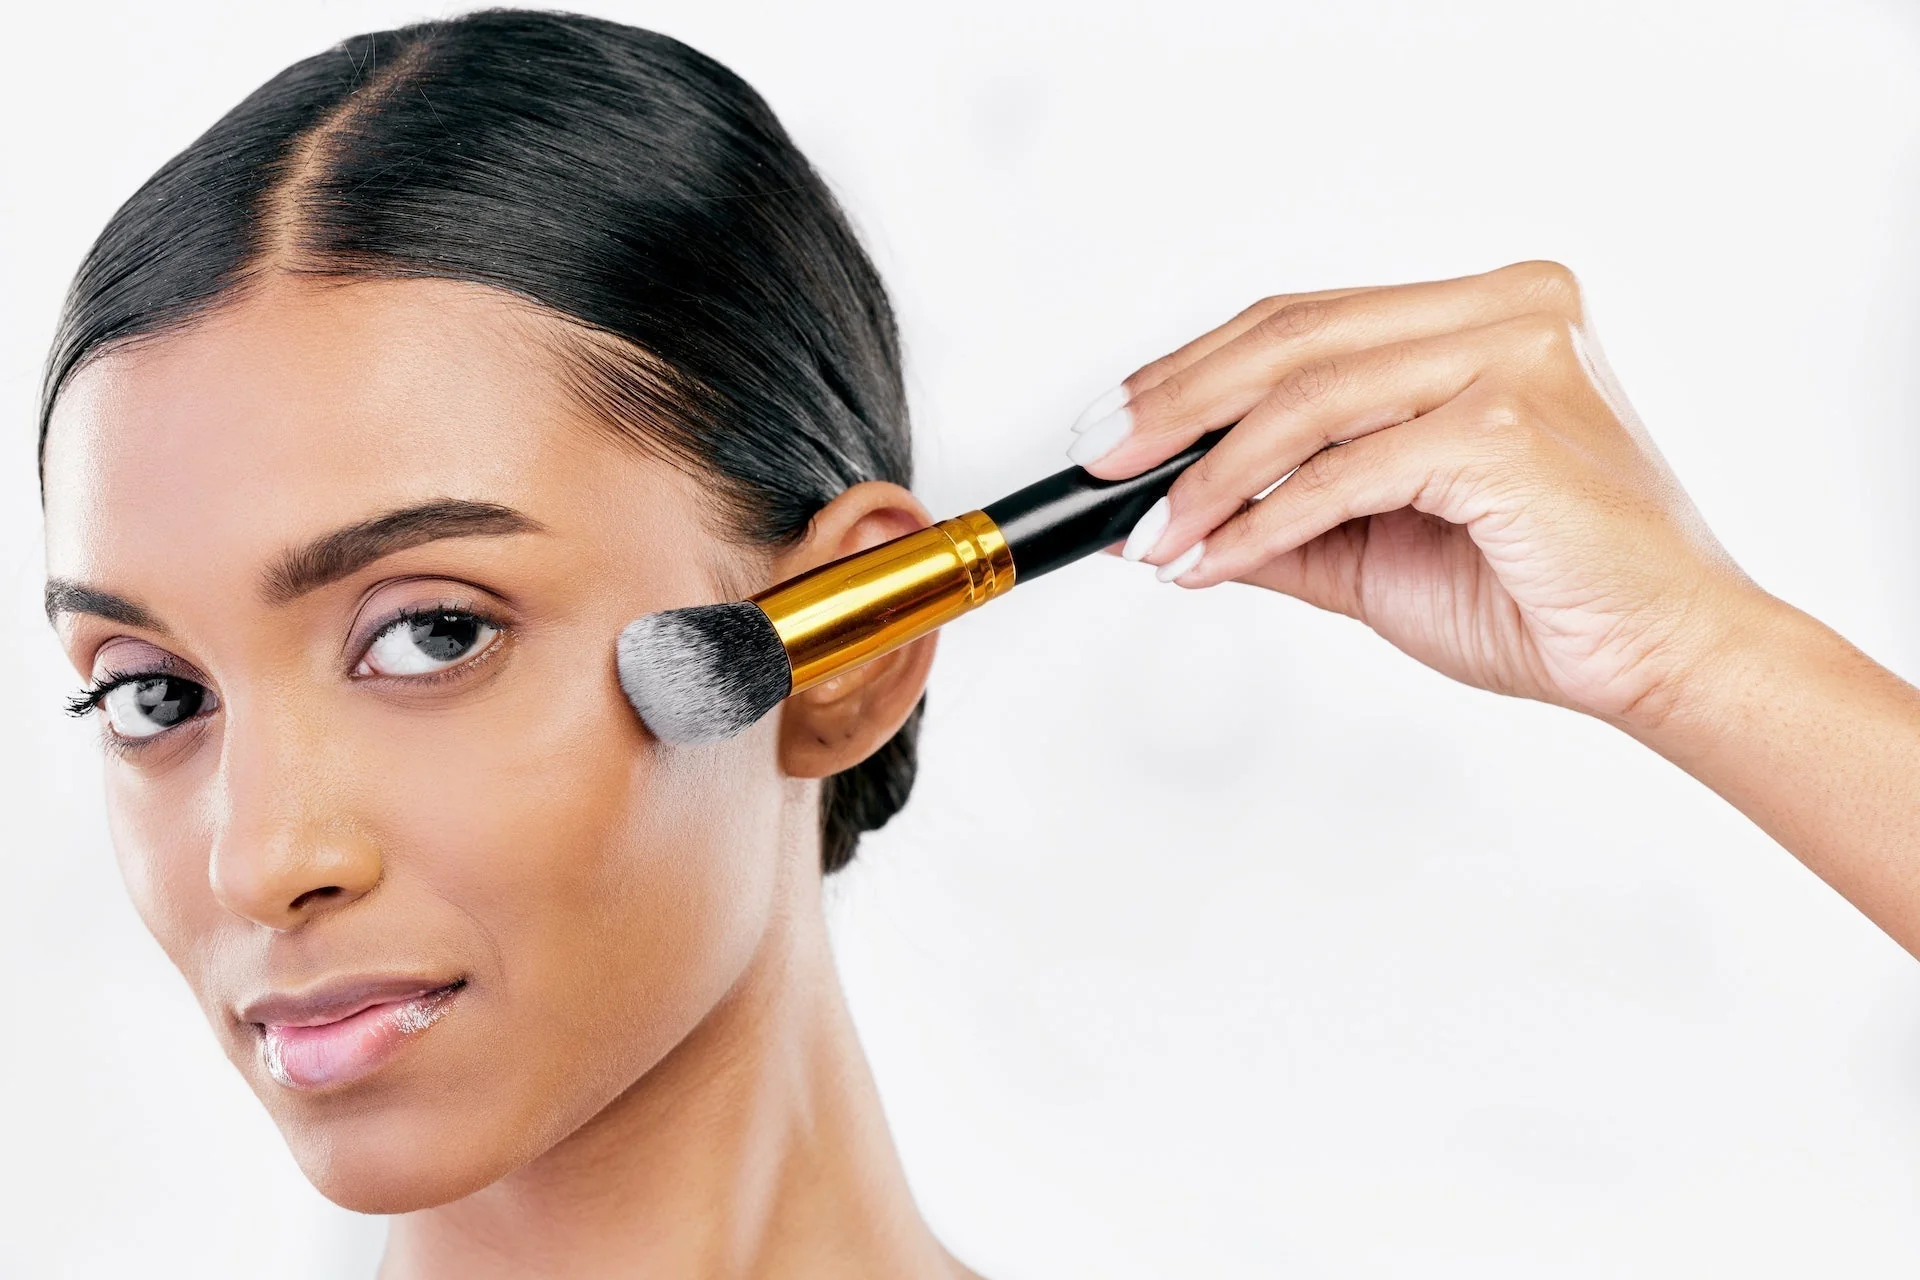
Tool insight
Makeup blender tools are widely used because they create an even finish without streaks, which is why their global market continues to grow steadily.
But technique still matters more than the tool.
Strategic Blush Placement (Modern Face Shaping)
Blush is no longer just color—it shapes the face.
3 placement styles and when to use them
1. Lifted placement (temple-focused)
Best for round faces
Apply from cheekbone toward temples
2. Sun-kissed placement (nose + cheeks)
Best for casual, natural looks
Mimics real sun exposure
3. Under-eye soft flush
Best for youthful, soft makeup
Trend insight
Soft-focus and “watercolor” blush styles are dominating because they create dimension without harsh lines.
Light Control: Highlight Without Looking Oily
The mistake
Applying highlighter everywhere.
The technique
Use micro-highlighting:
Tops of cheekbones (small area)
Inner eye corner
Center of eyelid
Avoid large, flat areas like full cheeks.
Why this works
Modern shimmer formulas are finer and more reflective, so small amounts create enough light without texture issues.
Lip Structuring vs Blurred Lips: When to Use Each
Current options
Blurred lips → soft, diffused edges
Defined lips → structured, classic look
How to decide
Situation | Best Technique |
|---|---|
Everyday / casual | Blurred lip |
Events / photos | Defined lip |
Dry lips | Blurred (more forgiving) |
Symmetry correction | Defined lip |
Pro tip
Use lip liner only on the outer corners—not the full lip—for a natural structure.
The “Underpainting” Technique (Used by Makeup Artists)
This is one of the least discussed but most effective techniques.
What it is
Apply contour, blush, and highlight before foundation.
Steps
Apply cream contour lightly
Add blush and highlight
Blend
Apply thin layer of foundation on top
Result
Softer transitions
Natural skin finish
Less visible product buildup
Hidden Mistakes That Lower Your Makeup Quality
These are rarely discussed but make a noticeable difference.
1. Using too much powder
Leads to flat, dry finish
Fix: powder only where needed (T-zone)
2. Ignoring lighting
Makeup looks different in natural vs indoor light
Check your look near a window before finishing
3. Matching foundation to face only
Causes mismatch with neck
Always blend slightly into neck area
4. Applying products in the wrong order
Cream over powder creates patchiness
Cost vs Technique: Where to Spend and Where to Save
Spend on:
Base products (foundation, concealer)
Brushes or blender tools
Save on:
Trend-based items (colored liners, seasonal shades)
Highlighter (small usage amount)
Insight
Consumers are increasingly willing to pay more for products that combine skincare benefits and makeup performance, especially in base products.
Beginner to Intermediate: A Practical Upgrade Plan
If you want to improve quickly, follow this 7-day focus plan:
Day 1–2: Skin prep + foundation layering
Day 3: Concealer placement practice
Day 4: Blush placement experiments
Day 5: Blending control (less product)
Day 6: Lip techniques
Day 7: Full routine with all adjustments
Expected result
Most users notice visible improvement within a week—not because of new products, but because of controlled application.
Reality Check: What These Techniques Won’t Fix
It’s important to be clear about limitations.
Makeup cannot fully hide texture (only soften it)
Lighting and camera quality affect final appearance
Skin condition (hydration, acne) still impacts results
Technique improves appearance—but it doesn’t replace skincare.
FAQ
How can I make my makeup look more natural instantly?
Use less product and focus on placement instead of full coverage. Blend edges, not entire areas.
What is the biggest beginner mistake?
Applying too much foundation and concealer, then over-blending.
Are expensive products necessary for better results?
No. Technique has a larger impact than price. However, base products are worth investing in.
How do professionals get smooth blending?
They layer slowly, use tapping motions, and stop blending once edges are softened.
Is powder still necessary in 2026?
Yes, but only in small amounts and targeted areas like the T-zone.
Conclusion
Makeup quality today is less about how much you use and more about how precisely you apply it.
Small changes—waiting between layers, placing product only where needed, and controlling blending—create results that look cleaner, more natural, and more modern.
If you focus on technique before buying more products, you’ll see faster improvement and more consistent results.
pro makeup tips
makeup techniques
flawless makeup
beauty hacks
makeup artist secrets
makeup tutorial
glam makeup
beauty tips
makeup game
professional makeup
Found this helpful? Share it!